Renault Alpine A110 Plastic model in the diorama
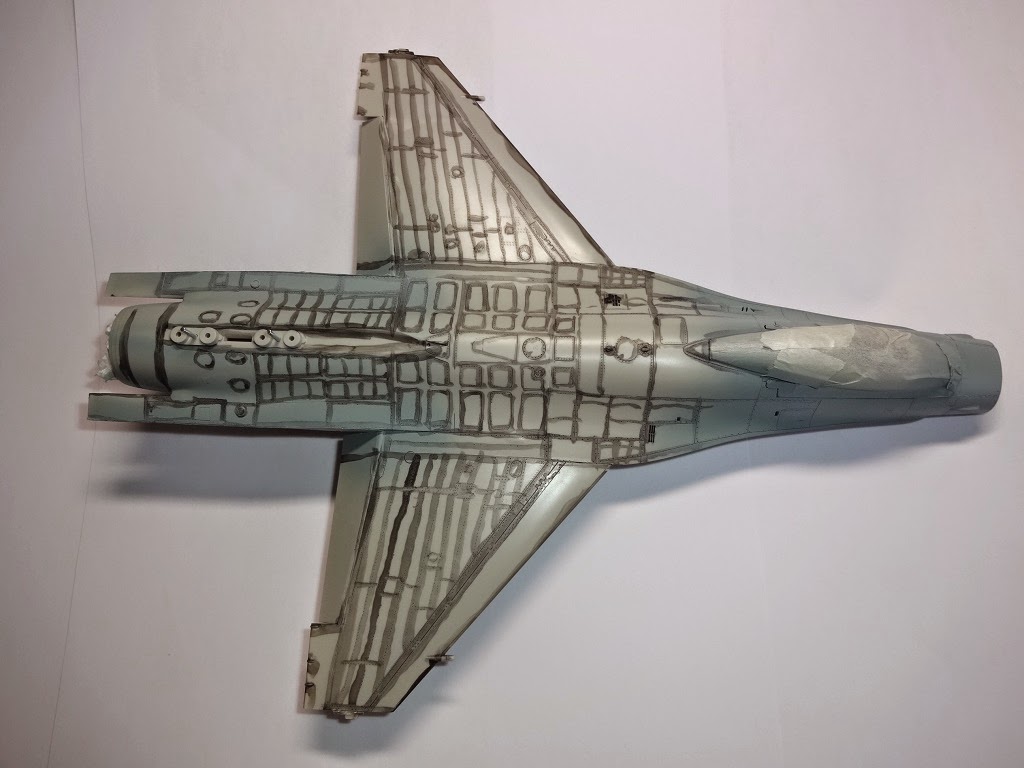
After building up my F16C, my idea is to try Alpine A110 car with some little modification such as putting some goods on the roof carrier in order to trip (drive) on the safari road.
I drew a picture of my idea.
Maybe a big wooden box, a water tank, a gas tank,a tent etc ... would be carried with him, putting on the roof carrier to travel.
I'm not sure how this idea will go, but let me try.
For this idea, I wanted to have a driver figure in 1/24 scale.
Fortunately, Fujimi Model is selling this.
This is very simple figure kit including three drivers model and one race queen.
But unfortunately there would be no chance to utilize this lady at this time.
Would like to enjoy and share my hobby with YOU after my happy retirement. Also I would like to post some tips / info related to Japanese culture what other international people doesn't know about it. (questions are welcome)
BackWall
11/28/2014
11/21/2014
Finished to build F16C plastic model !!
Finally I built up this F16-C kit after putting many slide marks on the body and wings.
Then did basic painting by spray color.
After that, some additional weathering was done by blush.
Then did basic painting by spray color.
After that, some additional weathering was done by blush.
11/20/2014
Continue to build F16 plastic model
I am trying to put other slide marks continuously.
It takes a long time ....
So, a pilot is painted during this.
There are so many small marks to put on you can NOT see from these photos, unfortunately. : )
It takes a long time ....
So, a pilot is painted during this.
There are so many small marks to put on you can NOT see from these photos, unfortunately. : )
11/17/2014
Continue to build F16 plastic model
Let's continue to build F16C model.
Next step is basic painting.
I did some Pre-Shading painting before basic paint.
This Pre-Shade will help to visualize better shadow after body paint.
Then paint main body color. (US Air Force Color)
Next, I have to fix the canopy mold line.
Left (before) / Right (after)
Then build the gears.
Then start to put the slide marks.
But there are more than 100 slide marks I have to put on the body.
This will make me crazy.
Next step is basic painting.
This Pre-Shade will help to visualize better shadow after body paint.
Left (before) / Right (after)
But there are more than 100 slide marks I have to put on the body.
This will make me crazy.
11/10/2014
LOCKHEED MARTIN F16C FIGHTING FALCON ANG 1/48 Plastic model
Just finished to build weapons such as Sidewinder.
There are many slide marks to put on these weapons. (more than 100 !)
So it took more than 2 days to build / paint and marking them.
There are many slide marks to put on these weapons. (more than 100 !)
So it took more than 2 days to build / paint and marking them.
11/06/2014
LOCKHEED MARTIN F16C FIGHTING FALCON ANG 1/48 Plastic model
After finishing to build Star Wars X-Wing, I have just start to build this F16C.
This is just 1/48 model because there is not enough room to display this kind of plastic model in my living room.
My wife is very cool for me to display these, because there is one big model Lamborghini 1/8 model exist already.
So I have to reduce model scale from 1/32 to 1/48.
Anyway, Let's open the box to build it up.
The first stage is "making a cockpit"
You can image how small these parts are !
My personal idea to paint this kind of small meter panel is
1, Put silver lacquer a little bit on the edge of each mecanical device on the cockpit panel.
2, Put red / yellow / blue lacquer on the top of toggle switches.
3, Paint enamel flat black color on the panel.
4, Touch up device edges / switches you would like to see its color under the black paint by cotton swab / tooth pick.
5, Then you can get this. (It is a toothpick !)
This is the cockpit.
To be continued
Subscribe to:
Posts (Atom)